- Web hosting
- Services
- SSL Certificatessecure data between website and customer
- Cyber Backupdata loss protection, fast recovery.
- Domain Namesregister a domain name in a variety of zones
- DDoS Protectionsafety from malicious attacks
- Server Carepro-active website monitoring
- Backupregular backups is the best protection from data loss
- Help
Knowledge base
Configuring DKIM Signing of e-mails
DKIM (DomainKeys Identified Mail) is one of existing ways to authenticate email messages. If the email contains a DKIM digital signature, the sender is set to high reliability.
This authentication is used to avoid the possibility of finding your server’s IP-address black listed on mail servers.
Run the following setup via the ISPmanager control panel for adding DKIM to your domain.
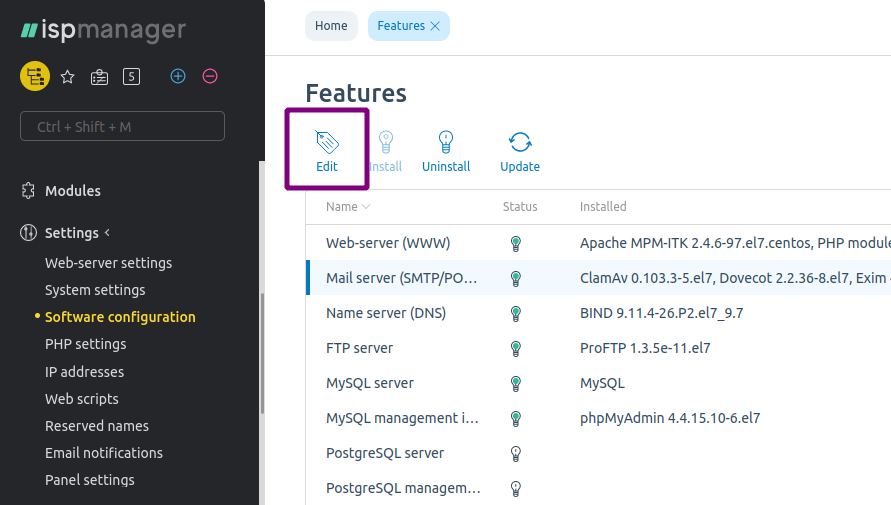
In ISPmanager, go to «Settings» — «Software configuration», select «Mail Server...» and click the «Edit» button.
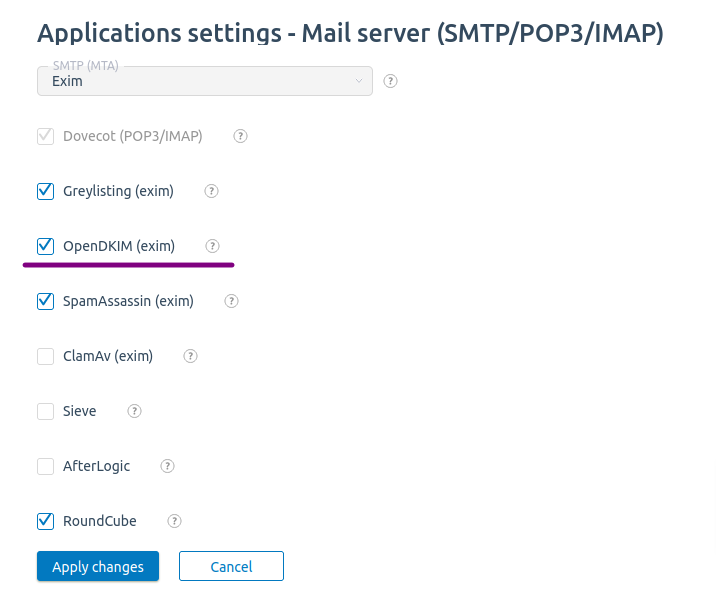
Check the «OpenDKIM (exim)» box and click on «Apply Changes».
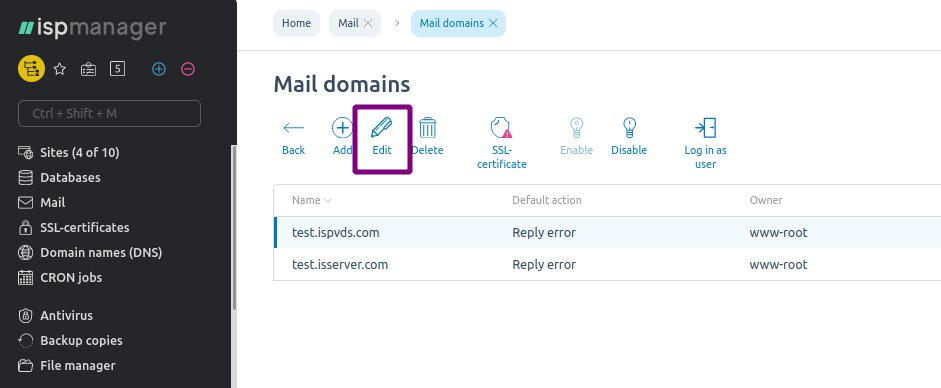
Then go to the «Mail» section — the «Mail domains» button — select a domain and click «Edit».
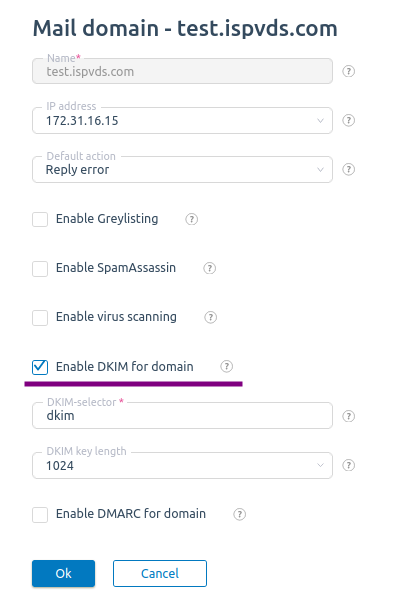
Check the box next to «Enable DKIM for domain» and click Ok.
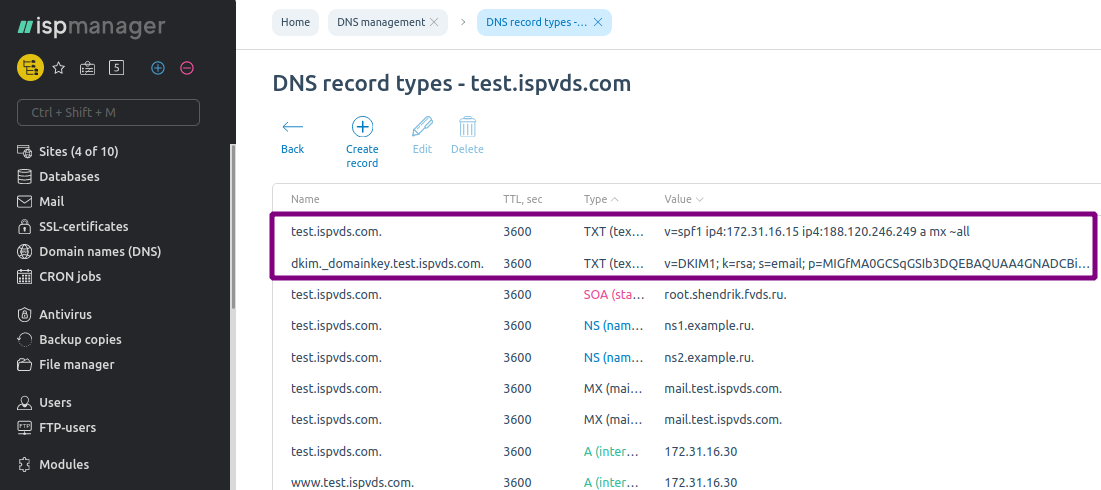
DKIM records will be added to the domain resource records, you can check their presence in the «DNS Management» section - the «Manage DNS records» button.
Verify that the settings are in effect and emails now have a DKIM signature. Send an email from your email address to any external email inbox that you can access (your alternate e-mail). Check the «Inbox», open the received email and review the headers. Make sure the «DKIM-Signature:» heading is among them — this is the DKIM signature.